


- 8 inches
- 10 inches
- 12 inches
- 14 inches
- Helical piers work immediately. No waiting for concrete to cure. You get instant foundation support.
- Installation is quiet and fast. You can stay in your home during the work. Most projects finish in 1-3 days.
- The weather doesn’t matter. Rain or shine, installation continues. Concrete work stops when conditions aren’t perfect.
- These piers reach deep into stable soil. Surface repairs can’t do this. You get a permanent fix instead of a band-aid.
- Many installations can lift your foundation back to level. This closes wall cracks and fixes sticking doors. Other repair methods can’t lift foundations.
- Helical piers last 75+ years with minimal maintenance. Most come with lifetime warranties. They work for homes, commercial buildings, and retaining walls.
- Small homes around 1,200 square feet need 8-10 piers. Total cost ranges from $12,000 to $18,000.
- Medium homes around 1,800 square feet need 10-14 piers. Expect to pay $15,000 to $25,000 total.
- Large homes over 2,500 square feet need 14-20 piers. Project costs run $20,000 to $36,000.
- Skipping soil testing leads to installation problems. Red flag: Any contractor who doesn’t test your soil first.
- Wrong pier sizes cause failures. Undersized piers can’t handle the load. Oversized piers waste money.
- Insufficient depth creates future settlement. Piers must reach stable soil layers to work properly.
- Poor bracket connections spell disaster. Sloppy work here leads to system failure.
- Skipping load tests is critical error. Every pier needs testing before final connection. No exceptions.
Your foundation is failing. Cracks spread across your walls. Doors won’t close properly. I understand your concern.
This complete guide solves your helical piers installation questions. You’ll learn what helical piers are and when you need them. I’ll walk you through the step-by-step installation process. You’ll learn the real costs, benefits, and common mistakes to avoid.
Here’s why you can trust this information: I’ve worked with foundation contractors for over a decade. This guide includes real case studies and current 2025 pricing data. Your search ends here. If you’re researching helical piers installation for the first time or comparing repair options, this guide gives you everything you need to make the right decision.
No sales pitch. Just facts. Ready to save your foundation? Let’s start.
What Are Helical Piers?
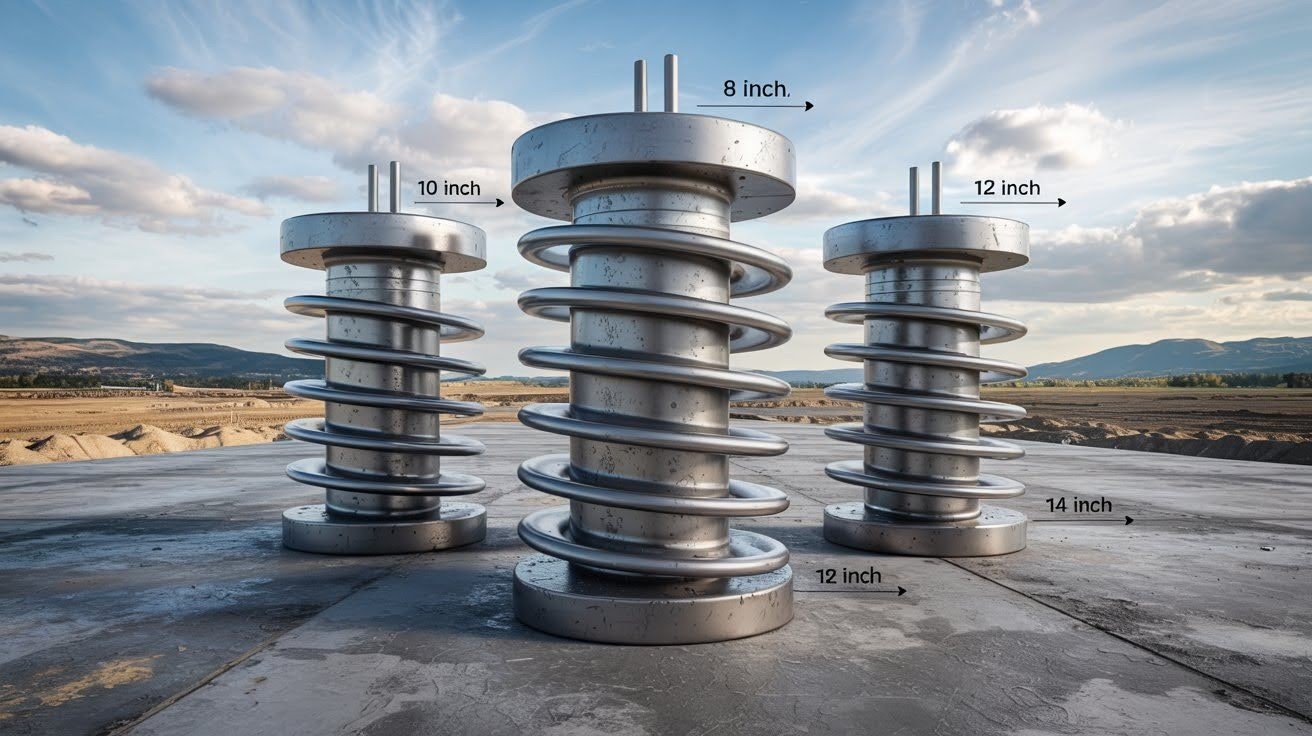
Think of helical piers as giant screws for your foundation. They’re steel shafts with spiral plates (called helices) welded along the length. These spirals look like corkscrews.
Here’s how they work:
The piers get screwed deep into the ground. They go down until they hit stable soil or bedrock. This gives your foundation something solid to rest on. Most helical piers are made from galvanized steel. This prevents rust and corrosion.
The spiral plates come in different sizes:
Bigger plates = more holding power. Why are they called “helical”? The word comes from “helix” – the spiral shape. Just like a DNA helix or a spiral staircase.
When Is Helical Pier Installation Necessary?

You don’t wake up one day and decide you need helical piers. Warning signs appear first.
Cracks in walls or ceilings signal foundation movement. Doors and windows that stick indicate settling problems. Uneven floors show your foundation isn’t level anymore. Gaps around door frames mean your house is shifting.
These signs get worse over time.
Your soil might be the culprit. Clay soil swells and shrinks with moisture changes. Loose or sandy soil doesn’t support foundations well. Areas with poor drainage cause ongoing foundation stress. Ground that was poorly compacted creates unstable conditions.
Soil testing reveals these problems early.
Building on difficult ground requires extra support. Helical piers provide stability from day one. They prevent future foundation problems before they start. Smart builders use helical piers as prevention.
You don’t have to wait for problems to start. Prevention costs less than repairs.
Some situations don’t work well with helical piers. Very rocky soil makes installation difficult and expensive. Extremely shallow bedrock limits pier depth options. Areas with underground utilities create installation challenges. Sometimes other solutions cost less and work better.
The bottom line? If your foundation is moving, get a professional assessment. They’ll tell you if helical piers are right for your situation.
The Helical Piers Installation Process [Step-by-Step]
Installing helical piers isn’t a weekend DIY project.
Here’s exactly what happens:
Step 1:Site Assessment and Planning
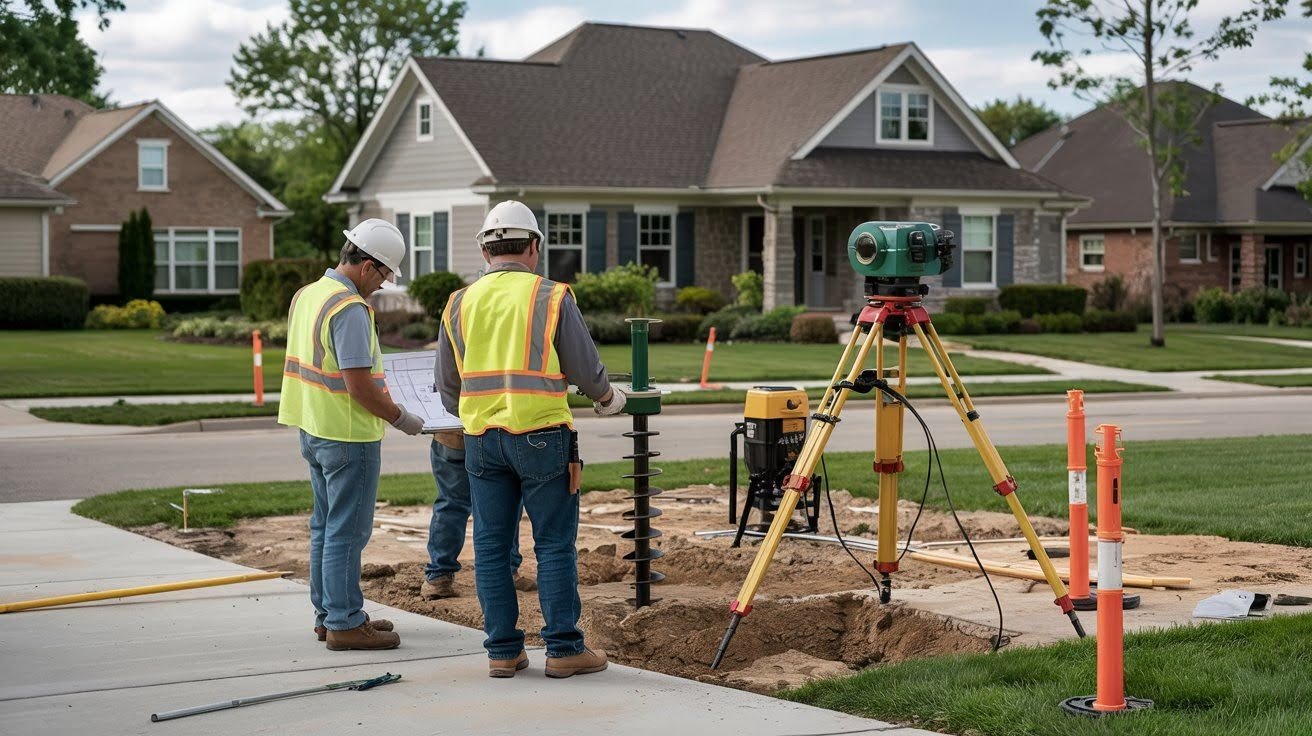
The crew arrives with surveying equipment. They mark utility lines using special locating tools. They test the soil with core samples or auger tests.
This step takes 1-2 hours for most homes. The team creates a detailed installation plan based on soil conditions. They determine the exact pier locations and required depths for your specific foundation.
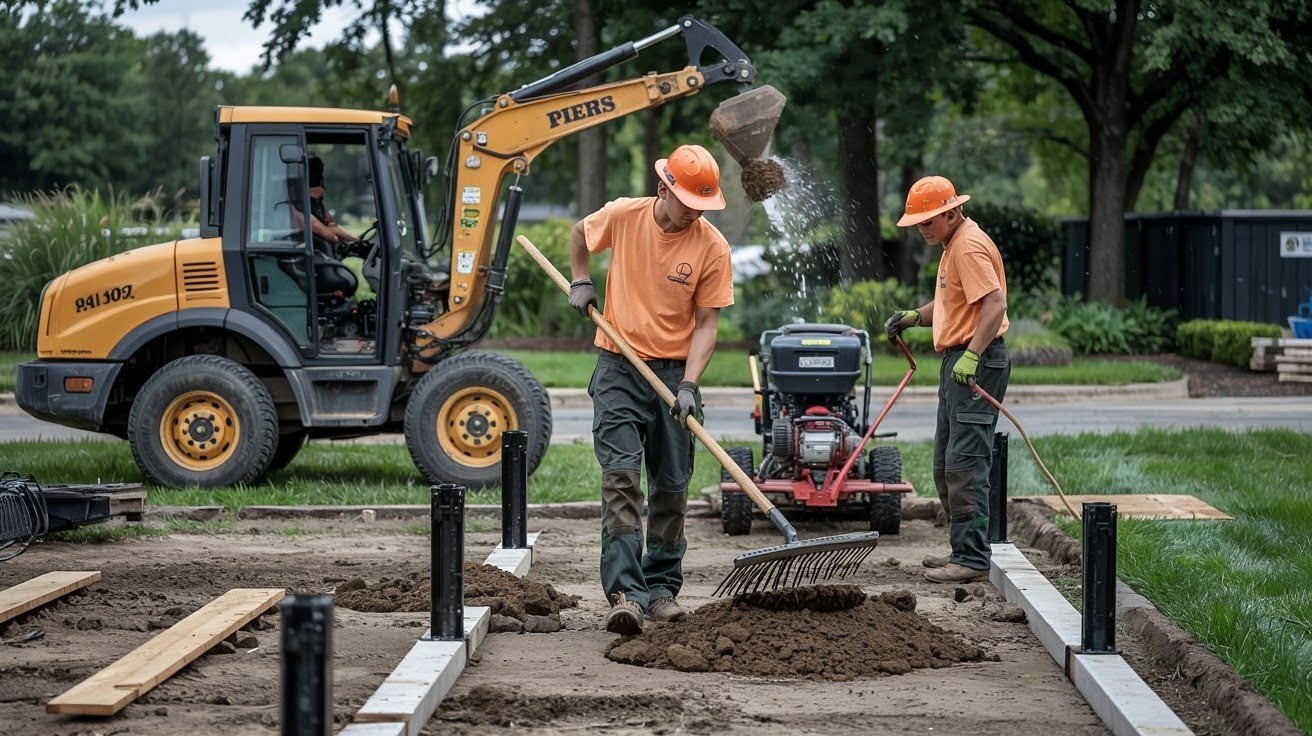
Step 2: Excavation
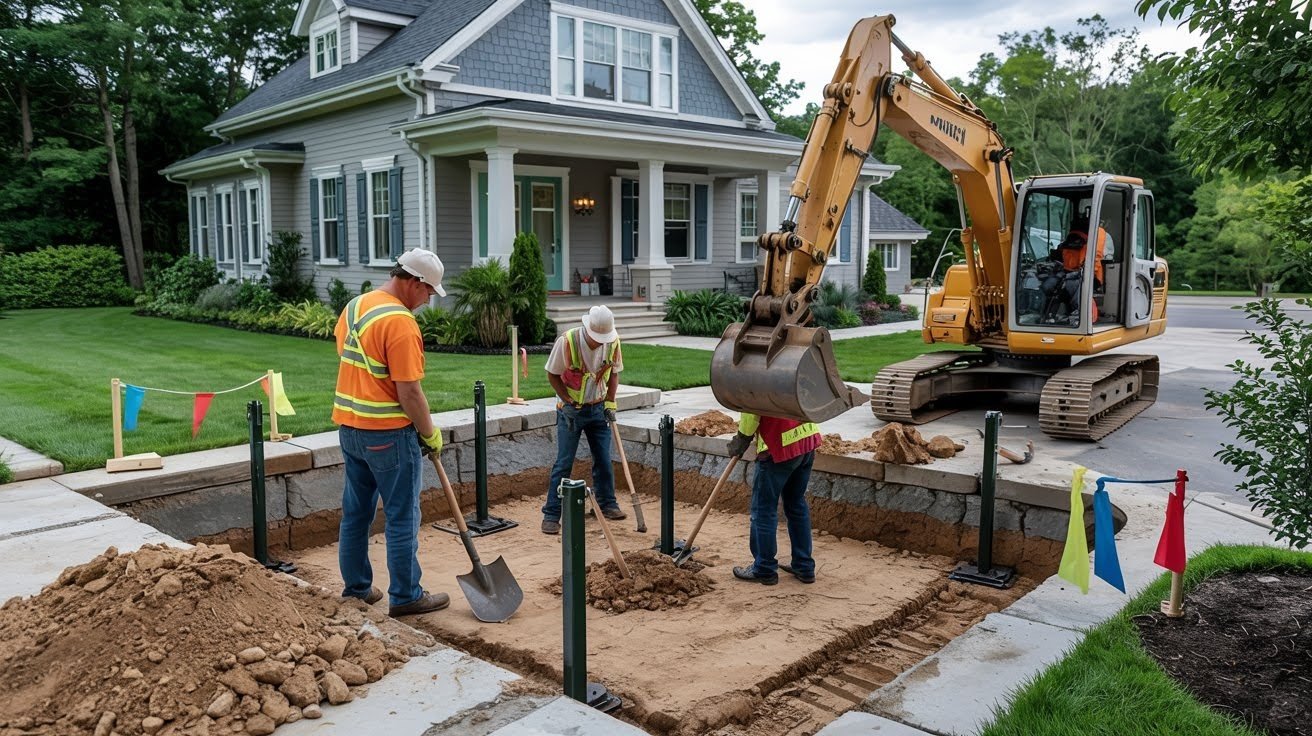
Workers dig small holes around your foundation. These holes are usually 2-3 feet wide and 3-4 feet deep. No massive trenches needed.
The excavation exposes the foundation where piers will attach. Crews use hand digging near utility lines for safety. They carefully preserve your landscaping wherever possible.
Step 3: Pier Installation
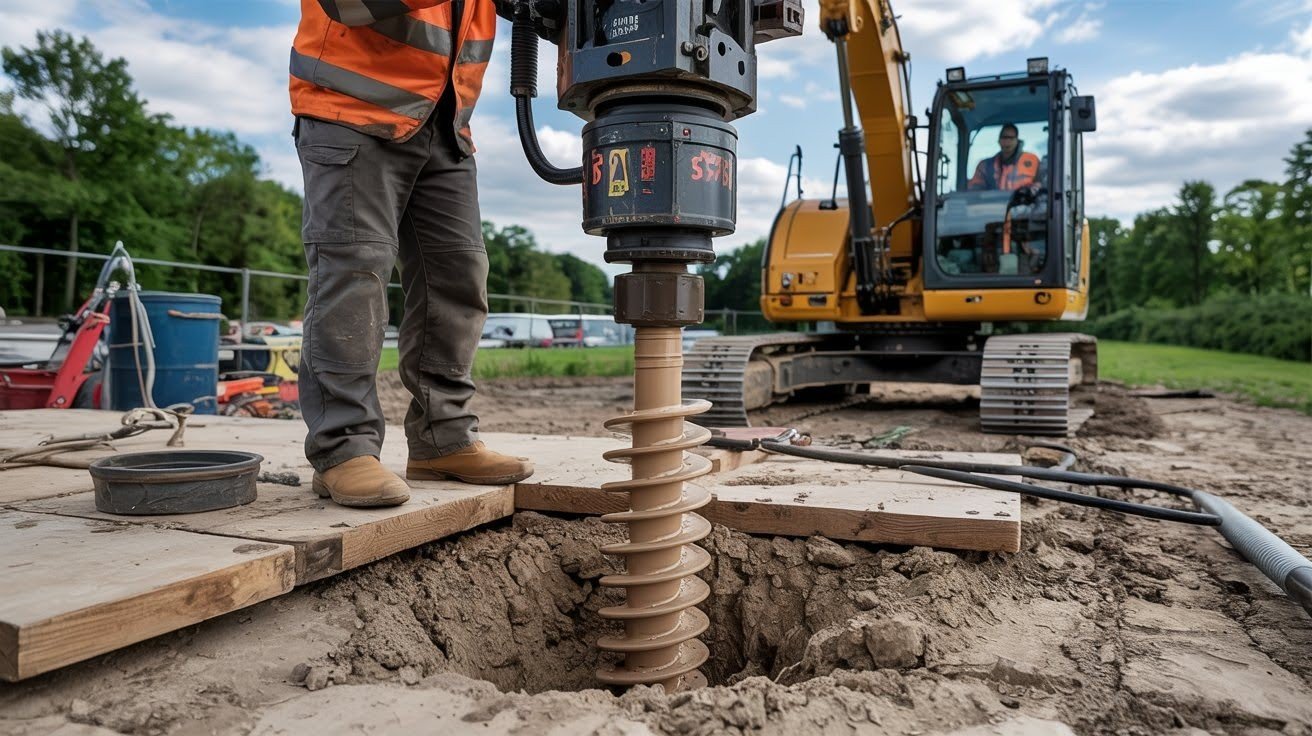
Now comes the main event. A hydraulic drive head attaches to the pier. Think of it as a giant drill bit that applies controlled pressure.
The machine screws the pier into the ground slowly and steadily. It keeps going until it hits the required torque rating specified by the engineer. The operator monitors torque readings constantly to ensure proper installation.
How deep do they go? Usually 15-30 feet depending on soil conditions. Sometimes deeper if the soil is really bad or bedrock is far down.
Each pier takes 30-60 minutes to install. The crew works methodically to maintain quality standards.
Step 4: Load Testing
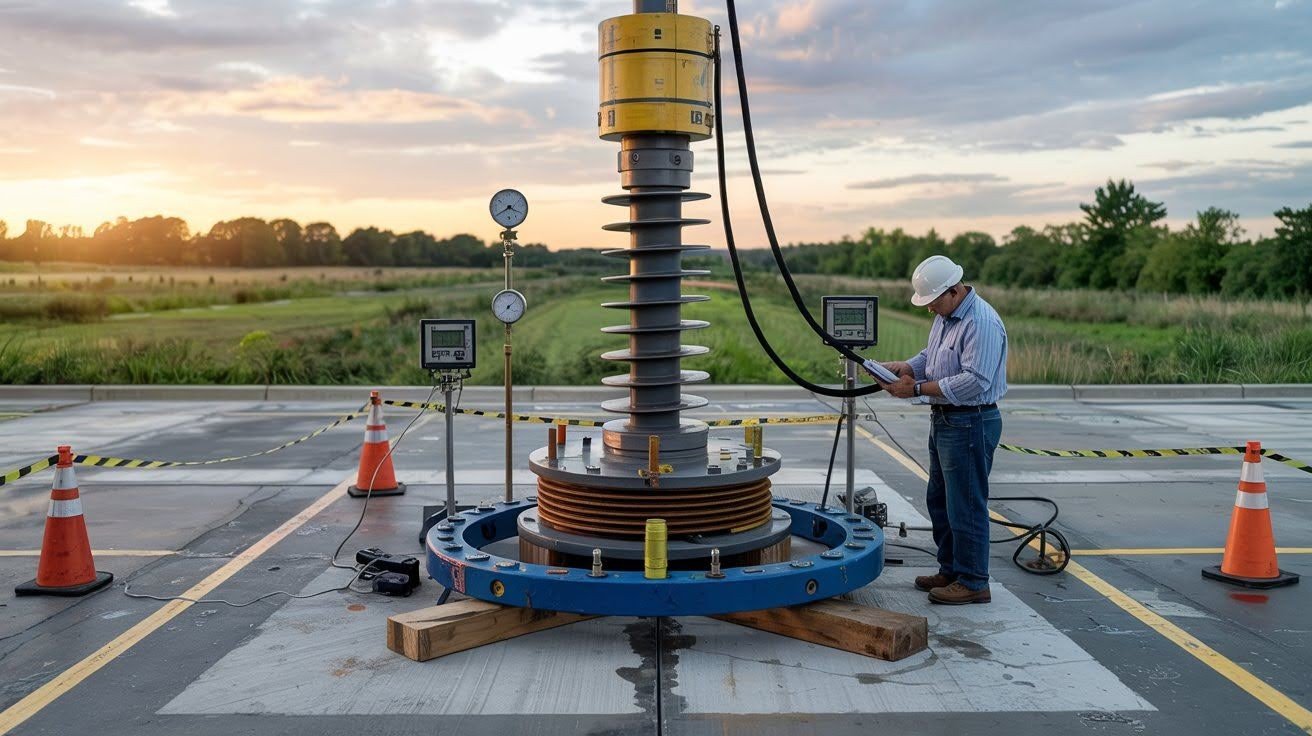
The crew tests each pier before moving on. They apply weight to make sure it holds the required load capacity. This step is critical. Never skip it or allow contractors to rush through testing.
Load testing confirms the pier can support your foundation’s weight. The results get documented for warranty and engineering records.
Step 5: Bracket Attachment
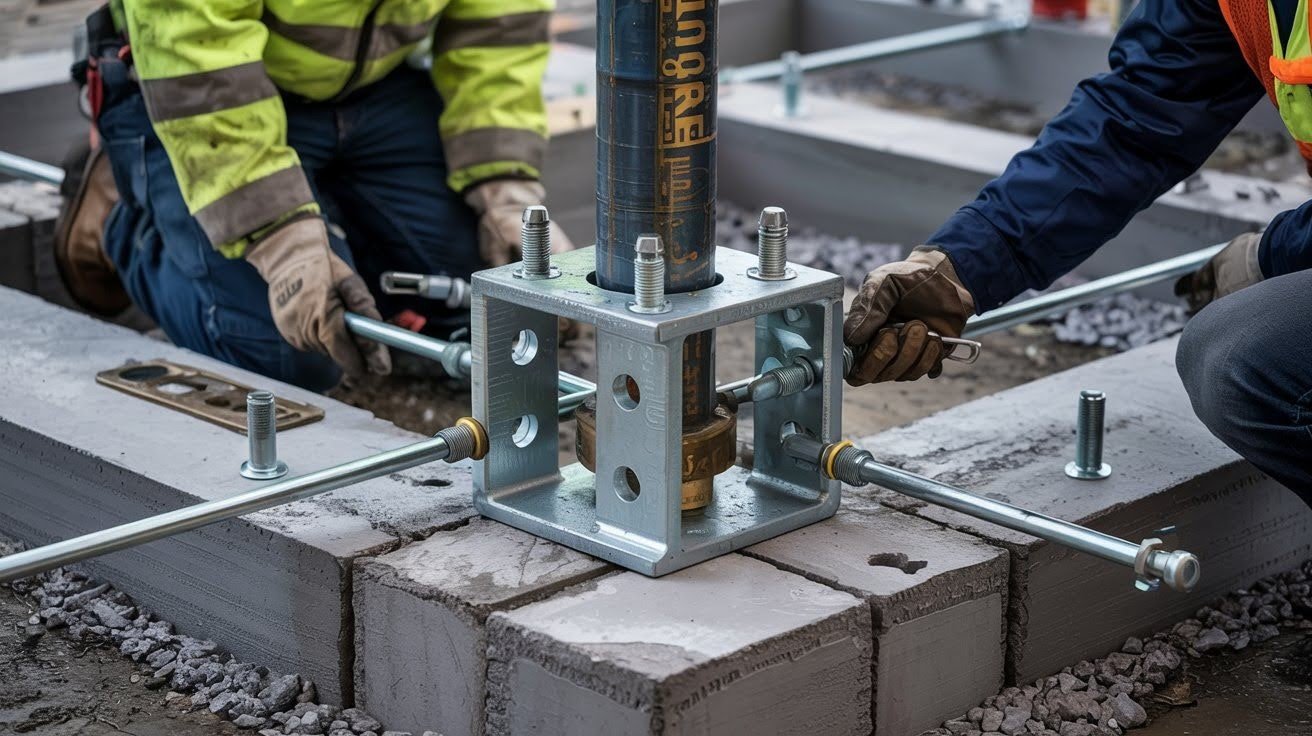
Steel brackets connect the piers to your foundation. These brackets transfer the building’s weight directly to the piers.
The brackets get bolted securely to the foundation wall. Crews check all connections twice for safety. Proper bracket installation determines the system’s long-term performance.
Step 6: Lifting (If Needed)
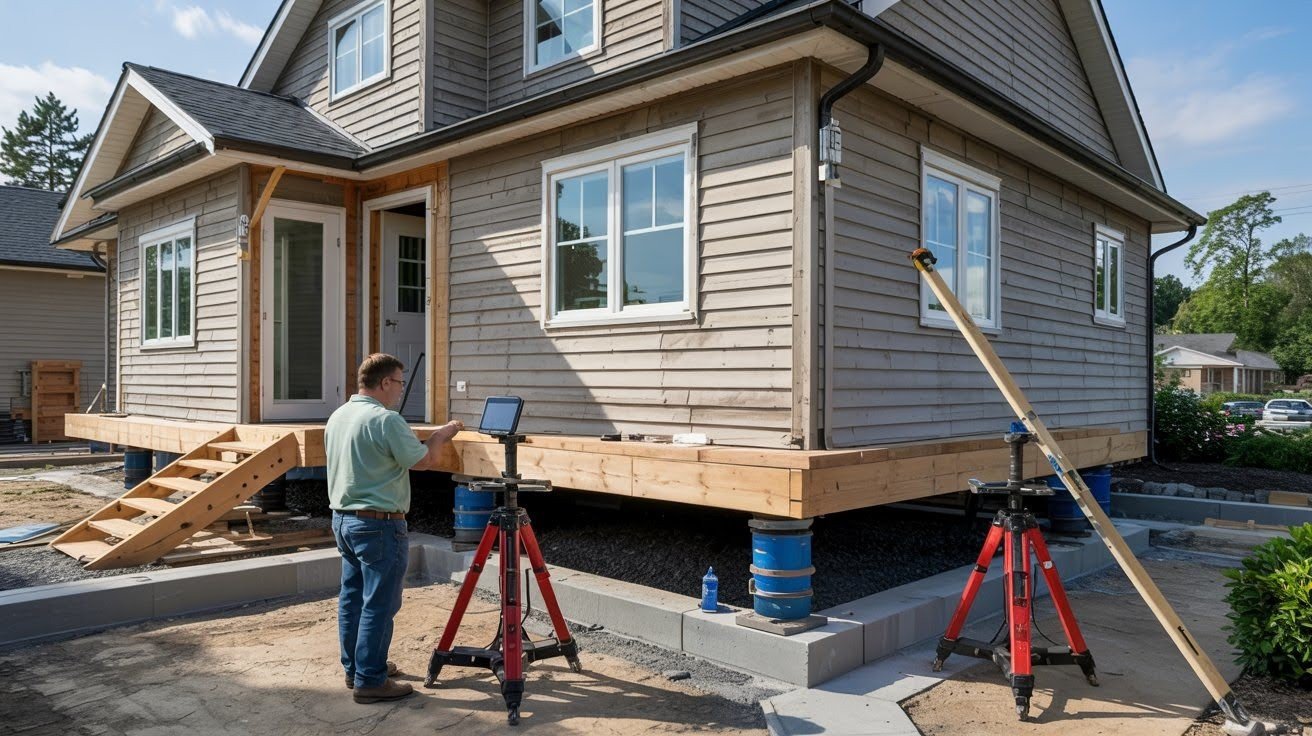
Sometimes the foundation can be lifted back to level. This doesn’t always happen depending on soil conditions and foundation type.
Your contractor will tell you if lifting is possible during the assessment phase. Lifting happens gradually over several hours to prevent cracking. Not all foundations can or should be lifted completely level.
Step 7: Backfilling and Cleanup
Workers fill in the holes with compacted soil. They clean up the job site and remove all equipment.
Most contractors restore basic landscaping as part of cleanup. They dispose of excess soil properly according to local regulations. The final inspection ensures everything meets code requirements.
Total time for most homes: 1-3 days depending on the number of piers needed.
Benefits of Installing Helical Piers
Why choose helical piers over other foundation repair methods?
Here are the main advantages:
The downside? They cost more upfront than surface repairs.
Cost of Helical Piers Installation (2025 Estimates)
Money talks. Let’s talk numbers.
Typical costs per pier: Residential homes pay $1,200 to $1,800 per pier. Commercial projects cost $1,500 to $2,500+ per pier. Several factors affect your final price. Harder soil conditions increase installation costs. Deeper piers cost more due to extra materials and labor time.
The number of piers needed varies by home size. Most homes require 8-15 piers total. Larger homes need more piers for proper support. Geographic location impacts labor costs significantly. Urban areas typically charge more than rural locations. Accessibility matters too since tight spaces increase labor time.
Sample project costs show the real numbers:
Additional costs include permits ranging from $200 to $800. Soil testing adds $500 to $1,500. Engineering reports cost $800 to $2,000.
Here’s the reality check: Helical piers cost more than surface repairs. But foundation replacement costs $20,000 to $100,000 or more.
You do the math.
DIY vs. Professional Installation
Can you install helical piers yourself?
Short answer: Don’t even think about it.
|
Factor |
DIY Installation |
Professional Installation |
|
Equipment |
Requires $50,000+ hydraulic machinery not available to homeowners |
Contractors own specialized equipment and trained operators |
|
Knowledge Required |
Must understand soil analysis, load calculations, torque specs, safety protocols |
Engineers and certified installers handle all technical aspects |
|
Permits |
DIY installations often fail inspections and permit requirements |
Licensed contractors manage permits and pass inspections |
|
Insurance |
You’re fully responsible if something goes wrong |
Professional installers carry liability insurance |
|
Warranty |
DIY work voids all manufacturer warranties |
Professional installation includes warranty coverage |
|
Time |
Weeks of learning plus installation time |
1-3 days for complete professional installation |
|
Safety |
High risk of injury from heavy equipment and excavation |
Trained crews follow strict safety protocols |
|
Results |
High failure rate due to improper installation |
Guaranteed proper installation meeting engineering specs |
What about partial DIY work? Some homeowners think they can handle excavation or backfilling themselves. Don’t do this either. Professional crews work as coordinated teams and know exactly where to dig and how deep.
The bottom line: This is specialized work that requires expertise, equipment, and insurance. Leave it to the professionals.
Common Mistakes to Avoid During Helical Pier Installation
Even professionals make mistakes sometimes. Here’s what to watch for:
How to avoid these mistakes: Choose experienced contractors with solid references. Get everything documented in writing.
Real-Life Case Study: The Johnson Family Foundation Repair
Meet the Johnsons. They live in a 1980s ranch home in Ohio. The problem started small. Sarah noticed a crack in the living room wall. “It’s just settling,” her husband Mike said. Six months later, the crack was three feet long. The front door wouldn’t close. New basement cracks appeared. Hardwood floors started separating.
The diagnosis: Foundation settlement due to clay soil problems.
A structural engineer recommended 12 helical piers for $18,500. The 2-day installation went smoothly. Each pier reached 22 feet deep. The results were impressive. The foundation lifted 1.5 inches back to level. Most cracks closed completely.
Sarah’s reaction: “I can’t believe how smooth the process was. We were expecting a disaster.”
One year later, no new foundation movement occurred. The Johnsons saved an estimated $35,000 compared to foundation replacement.
Mike’s advice: “We should have called sooner. The longer you wait, the more it costs.”
Conclusion
Foundation problems don’t fix themselves. They get worse over time. Helical piers offer a permanent solution for many foundation issues. Yes, they cost money upfront. But they save money long-term compared to foundation replacement.
The key is choosing the right contractor. Look for proper licensing and insurance. Find someone with helical pier experience specifically. Check recent customer references carefully. Get detailed written estimates from multiple contractors. Don’t wait until small cracks become big problems. Early action costs less than emergency repairs. Foundation damage spreads quickly once it starts.
Your next step is simple. Contact local foundation specialists for quotes. Compare their approaches and pricing. Ask about warranties and guarantees.
Remember this: Your home’s stability depends on the foundation beneath it. Make sure that foundation is built to last. The right helical pier installation protects your biggest investment for decades.
Frequently Asked Questions
How long do helical piers last?
Properly installed helical piers typically last 75+ years with minimal maintenance required. Most manufacturers offer lifetime warranties on their pier systems when installed by certified contractors.
Can helical piers be installed in winter?
Yes, helical piers can be installed year-round regardless of weather conditions. Unlike concrete solutions, helical pier installation doesn’t require specific temperature ranges or curing time.
Will helical pier installation damage my landscaping?
Installation requires small excavation areas around your foundation, typically 2-3 feet wide. Most landscaping can be restored easily, and contractors usually include basic restoration in their cleanup process.
How do I know if my foundation needs helical piers?
Look for warning signs like wall cracks, sticking doors and windows, uneven floors, or gaps around door frames. A structural engineer can assess your foundation and recommend the best repair method.
Are helical piers better than concrete piers?
Helical piers work immediately without curing time and can be installed in any weather. They also reach deeper into stable soil layers and offer potential for foundation lifting that concrete piers cannot provide.