


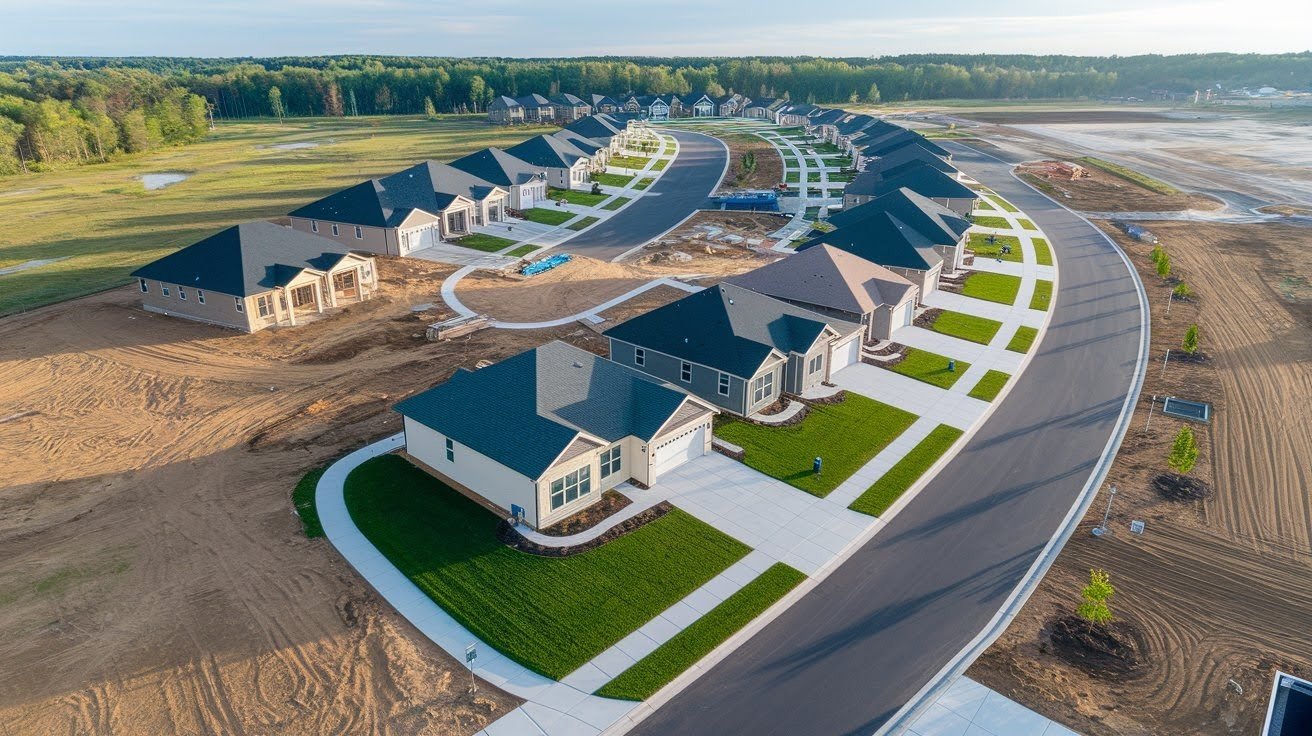
The journey from raw land to livable homes is more complex than it seems. Most people see the finished product as beautiful houses with manicured lawns. But they don’t see the months of planning, permits, and construction that came before.
Residential development involves changing vacant land into housing communities.
It’s a process that requires careful coordination between multiple professionals. From building designers to city planners, everyone plays a crucial role.
Every successful development starts with smart research and location selection. The right land makes or breaks your entire project.
You need to understand zoning laws, soil conditions, and market demand before making any commitments.
This article will guide you through the complete process step-by-step. You’ll learn what happens behind the scenes. By the end, you’ll understand exactly how developers turn empty lots into dream homes.
What Is Residential Development?
Residential development is the process of creating housing on previously undeveloped or underutilized land.
It involves more than just building houses. Developers must plan entire communities with roads, utilities, and amenities. The goal is to create functional neighborhoods where people want to live.
Residential development is different from commercial development
Commercial development focuses on business properties like offices, retail stores, and warehouses. Residential development centers on homes and living spaces.
Types of residential development include:
- Single-family homes on individual lots
- Multi-family buildings like apartments and condos
- Planned subdivisions with shared amenities
- Gated communities with security features
- Mixed-use developments combining homes and businesses
Each type requires different approaches to planning and construction. Single-family developments need more land per unit. Multi-family projects require different zoning approvals.
The choice depends on market demand, available land, and local regulations.
Step 1: Research and Land Acquisition
Finding the right land is the foundation of any successful project.
Location matters more than almost anything else. You need to consider proximity to schools, jobs, and shopping. Transportation access is crucial. People want easy commutes and convenient amenities nearby.
Zoning laws and land-use regulations
Not all land can be used for housing. Cities have zoning maps that designate what can be built where. Some areas are reserved for commercial use. Others are protected as green space.
Check with local planning departments before making offers. They can tell you what’s allowed on specific parcels.
Due diligence is critical.
Soil testing reveals if the ground can support buildings. Some soils are too soft or contain hazardous materials. Environmental checks look for contamination or protected species habitats.
Flood zones can limit what you can build. Some areas require expensive flood insurance for buyers.
Land negotiation and purchase
Once you’ve done your homework, it’s time to negotiate. Land prices vary widely based on location and development potential.
Consider factors like:
- Current zoning and potential for rezoning
- Access to utilities and roads
- Market conditions and competition
- Financing terms and closing timeline
Don’t rush this step. A bad land purchase can doom your entire project.
Step 2: Planning and Design
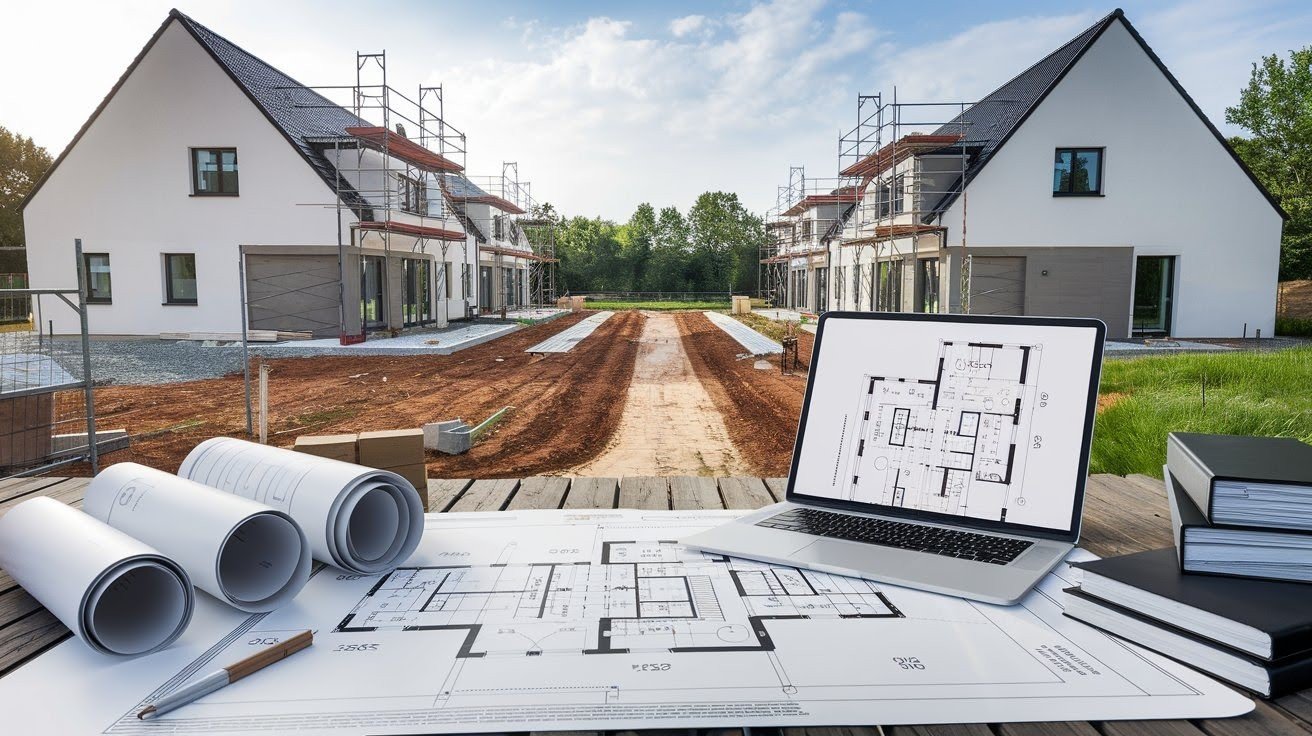
Good planning sets the stage for everything that follows.
You’ll work with a team of professionals, including architects, engineers, and urban planners. Each brings specialized knowledge to the project.
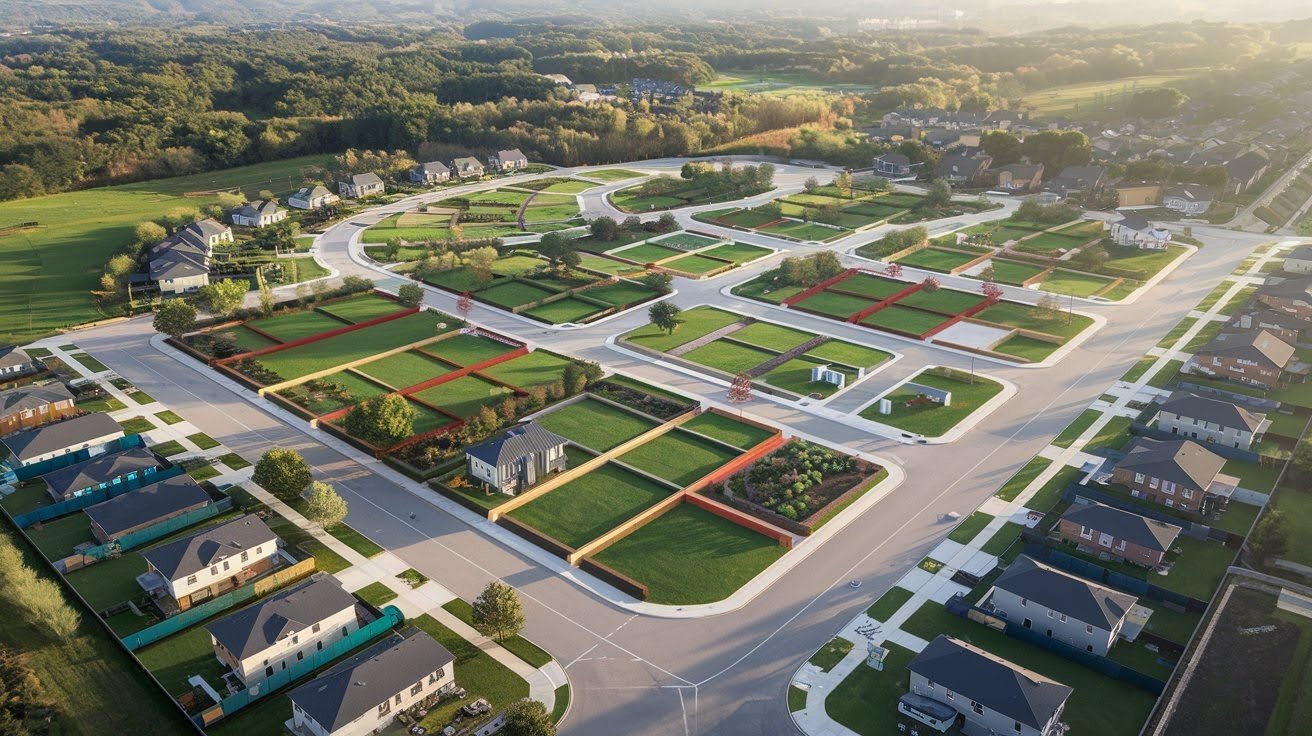
Site layout planning
This involves deciding where roads will go and how lots will be arranged. You need to plan for utilities like water, sewer, and electric lines. Green spaces and common areas should be integrated thoughtfully.
Traffic flow matters. People need safe ways to enter and exit the community. Emergency vehicles must be able to access all areas.
Community amenities planning
Modern buyers expect more than just houses.
They want amenities that enhance their lifestyle:
- Parks and playgrounds for families
- Walking trails and recreation areas
- Community centers or clubhouses
- Swimming pools or fitness facilities
The amenities you include depend on your target market and budget.
Securing planning approvals
Local authorities must approve your plans before you can break ground. This process can take several months. Be prepared to make revisions based on their feedback.
Planning departments want to ensure your project fits with community goals. They’ll review traffic impacts, environmental effects, and infrastructure needs.
Step 3: Financing the Project
Residential development requires significant upfront capital.
Project cost breakdown typically includes:
- Land acquisition (20-30% of total cost)
- Site preparation and infrastructure (25-35%)
- Construction materials and labor (30-40%)
- Professional fees and permits (5-10%)
- Marketing and sales costs (3-5%)
These percentages vary based on location and project scope.
Funding options
Private investors provide capital in exchange for ownership stakes or profit sharing. This route offers more flexibility but means sharing control and profits.
Construction loans from banks cover building costs. You pay interest only during construction, then refinance into permanent financing.
Government grants and incentives are available in some areas. These programs encourage development in specific zones or promote affordable housing.
Creating a financial model
Your business plan should include detailed cost projections and timeline assumptions. Banks and investors want to see realistic scenarios for different market conditions.
Include contingencies for cost overruns and delays. Construction projects rarely finish exactly on time and on budget.
Step 4: Permits and Legal Requirements

Building legally requires extensive paperwork and approvals.
Essential permits include:
- Building permits for each structure
- Environmental permits for water and air quality
- Utility connection permits
- Road construction permits
The permitting process can take 3-6 months or longer. Start early and stay organized.
Compliance requirements
Fire safety codes dictate things like road widths and hydrant placement. Water and sewage systems must meet capacity and quality standards.
Building codes specify construction methods and materials. These codes exist to ensure safety and quality.
Legal documentation
Property deeds must be clear and transferable. Homeowner association documents may be required for planned communities.
Construction contracts should clearly define scope, timeline, and payment terms. Good contracts prevent disputes later.
Keep detailed records throughout the process. Inspectors and buyers will want to see documentation of proper procedures.
Step 5: Construction Phase
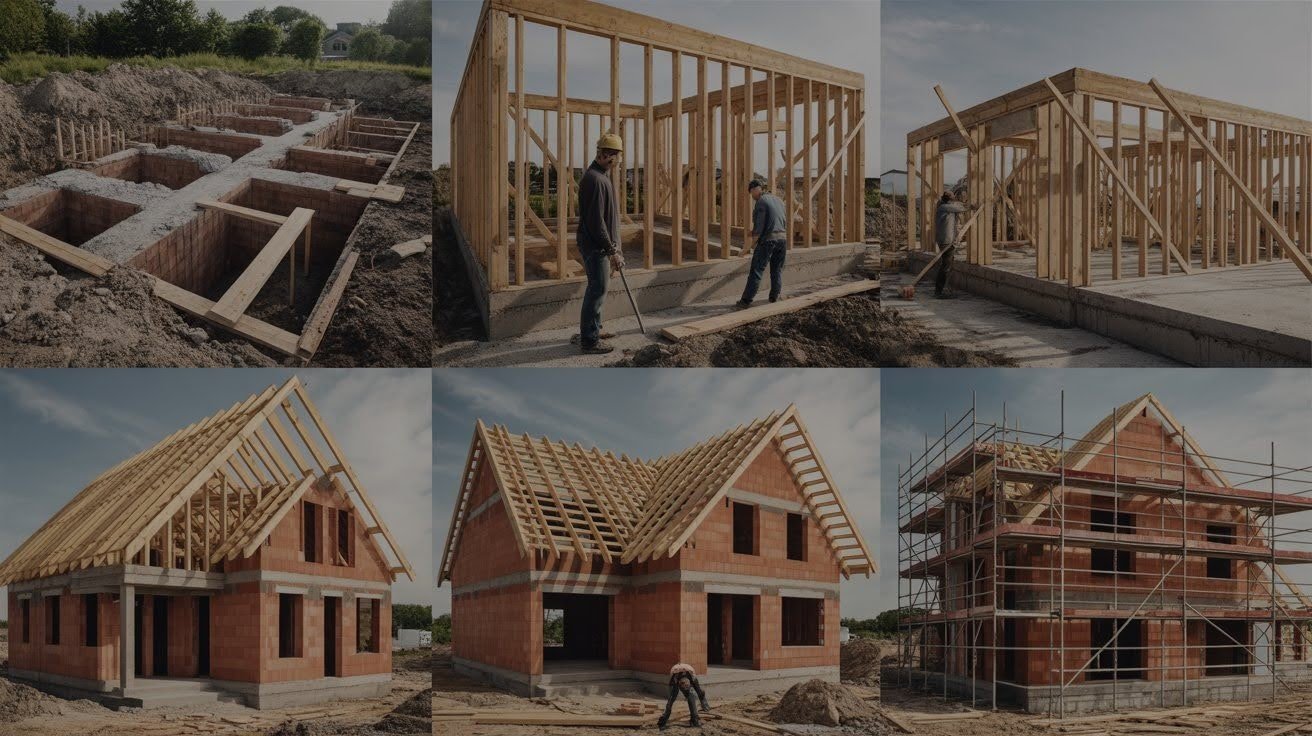
This is where your plans become reality.
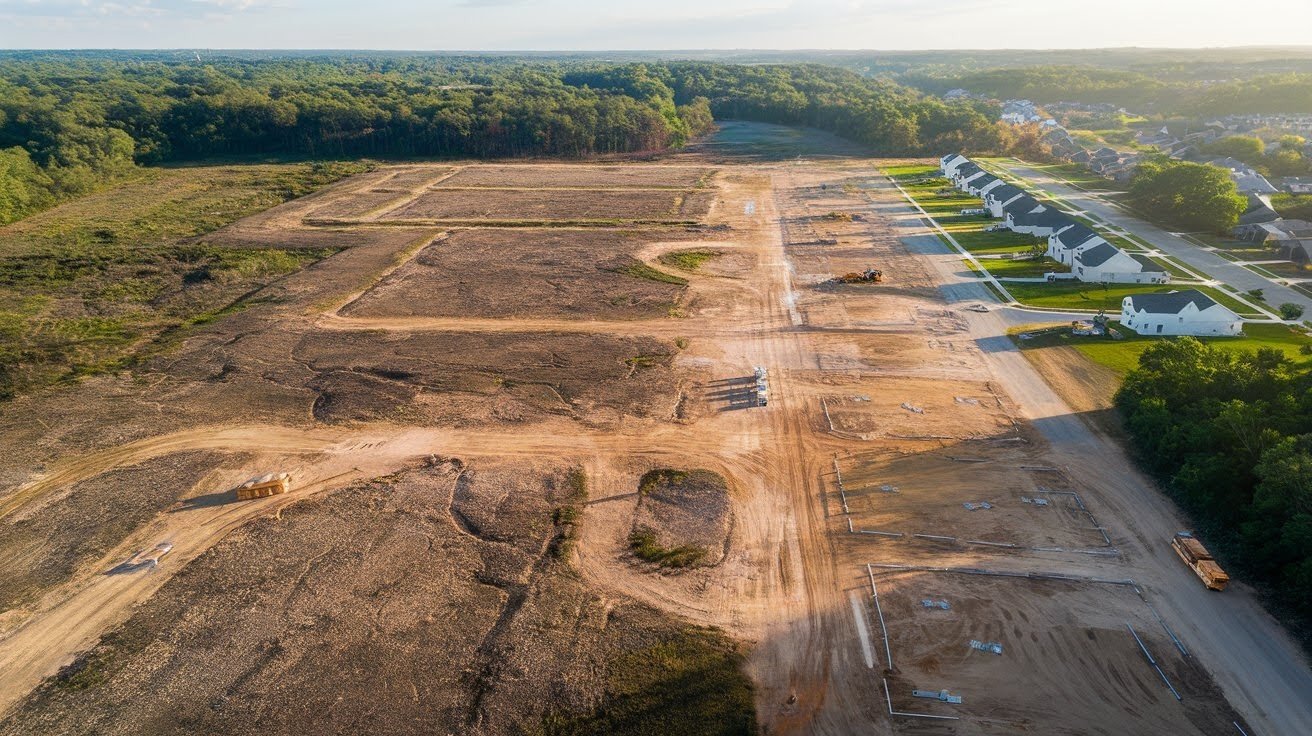
Site preparation
The first step is clearing and grading the land. This creates level building sites and proper drainage. Improper grading can cause flooding and foundation problems later.
Survey crews mark exact lot boundaries and building locations. Utility companies locate existing lines to avoid accidents during excavation.
Infrastructure installation
Roads are built first to provide access for construction vehicles. Underground utilities like water, sewer, and electric lines go in next.
Proper installation is critical. Fixing utility problems after houses are built is expensive and disruptive.
Home construction
Building typically follows this sequence:
- Foundation excavation and pouring
- Framing the structure
- Installing the roof and exterior walls
- Rough plumbing and electrical work
- Insulation and drywall
- Flooring, cabinets, and fixtures
- Final inspections and cleanup
Managing contractors and timelines
Good project management keeps things on schedule and budget. Regular site visits help catch problems early.
Weather can cause delays, especially during foundation and roofing work. Build buffer time into your schedule.
Communication is key. Contractors need clear instructions and timely decisions to avoid costly delays.
Step 6: Final Inspections and Quality Checks
Quality control protects your reputation and reduces liability.
Government inspections
Building inspectors check work at various stages. Foundation inspections happen before concrete is poured. Framing inspections occur before walls are closed up.
Final inspections cover everything from electrical safety to proper ventilation. Homes can’t be occupied without passing these inspections.
Structural and safety compliance
Independent engineers may review structural elements. This provides additional assurance that buildings meet code requirements.
Safety features like smoke detectors and emergency exits must function properly.
Correcting violations
If inspectors find problems, they must be fixed before approval.
Common issues include:
- Improper electrical connections
- Plumbing leaks or code violations
- Missing safety equipment
- Inadequate insulation or ventilation
Address violations promptly to avoid construction delays.
Create checklists to ensure nothing is missed. Quality problems discovered after buyers move in are much more expensive to fix.
Step 7: Marketing and Sales
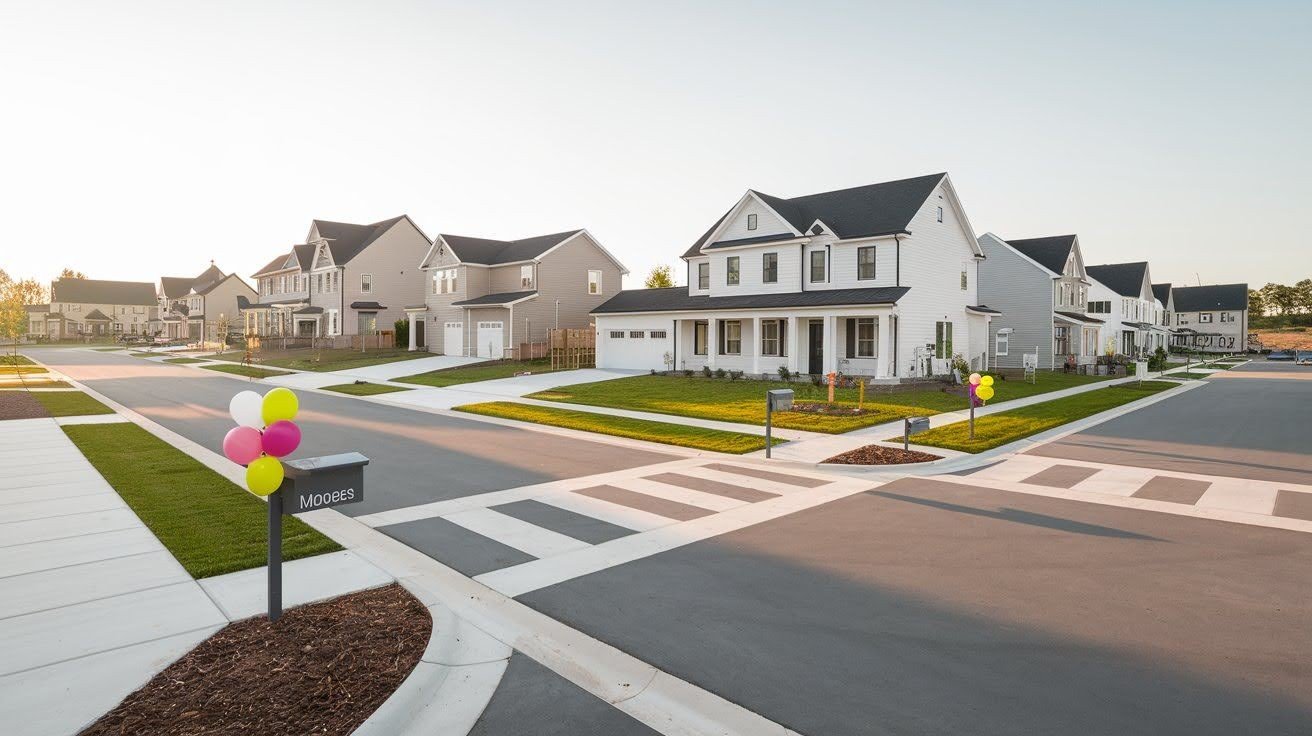
Great construction means nothing without buyers.
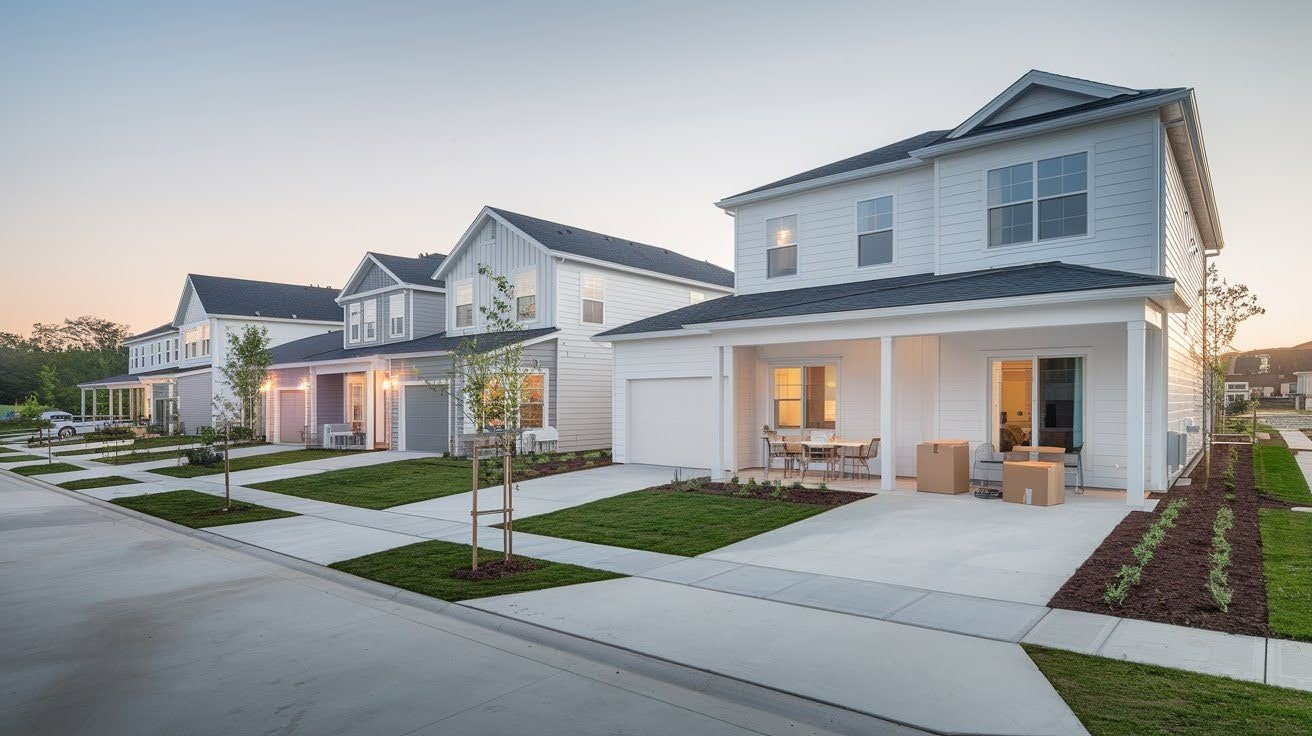
Model homes and virtual tours
Model homes let buyers experience your vision firsthand. Furnish them professionally to showcase the lifestyle you’re selling.
Virtual tours reach buyers who can’t visit in person. High-quality photography and video are essential marketing tools.
Pricing strategies
Research comparable properties in the area. Price competitively while maintaining healthy profit margins.
Consider offering incentives like upgraded appliances or closing cost assistance. These can help move inventory without cutting base prices.
Real estate partnerships
Experienced agents understand the local market and have established buyer networks. Choose partners who specialize in new construction.
Provide agents with detailed information about features and benefits. Train them on your community’s unique selling points.
Sales tactics
Pre-sales help generate cash flow during construction. Offer early buyer incentives to encourage commitments.
Open houses create excitement and urgency. Schedule them strategically around completion milestones.
Follow up with interested prospects promptly. In competitive markets, timing often determines sales success.
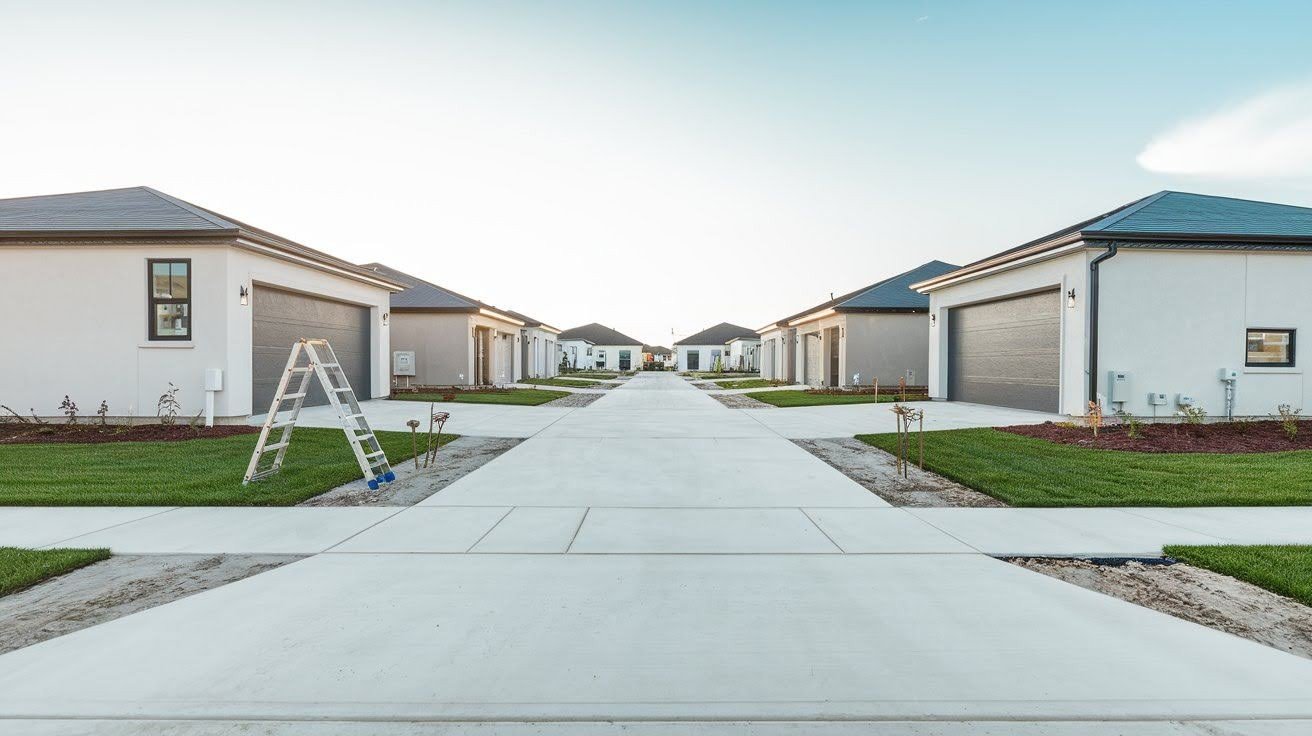
Step 8: Handover and Occupancy
The final steps ensure satisfied customers.
Final walkthrough
Walk through each home with buyers before closing. Document any remaining issues and establish timelines for completion.
Explain home systems and provide instruction manuals. Show buyers where to find shut-off valves and electrical panels.
Warranty and support
Most builders provide one-year warranties on construction defects. Some components, like appliances, have separate manufacturer warranties.
Establish clear procedures for warranty claims. Respond to issues promptly to maintain your reputation.
Community setup
If your development includes a homeowner association (HOA), help establish the initial board. Provide governing documents and operating procedures.
Set up maintenance contracts for common areas. Ensure new residents understand their rights and responsibilities.
Create welcome packets with important contact information and community guidelines.
Common Mistakes to Avoid
Learn from others’ expensive errors:
- Inadequate market research
- Underestimating costs
- Skipping due diligence
- Poor contractor management
- Inadequate financing
- Ignoring zoning requirements
- Weak marketing strategy
- Cutting quality corners
Conclusion
Residential development transforms communities and creates lasting value.
The process is complex but manageable with proper planning. Each step builds on the previous ones. Rushing or skipping steps often leads to expensive problems later.
Success requires balancing many factors. Market demand, construction quality, and financial management all matter. The best developers excel at coordinating these elements seamlessly.
Remember the key principles that separate successful developers from failed ones. Thorough market research prevents building the wrong product. Adequate financing keeps projects moving when unexpected costs arise.
Strong contractor relationships ensure quality work and on-time completion. Good marketing strategies turn construction into sales.
I hope this guide has shown you what’s involved in creating new housing. The industry needs thoughtful developers who understand both the business and human sides of building communities.
Frequently Asked Questions
How long does residential development typically take?
Most projects take 18-36 months from land purchase to final sales. Complex developments with extensive infrastructure can take 3-5 years. Permitting and approvals often account for 6-12 months of the timeline.
What’s the minimum amount of money needed to start a residential development project?
Small projects might require $500,000-$1 million in initial capital. Larger subdivisions can need $5-50 million or more. The amount depends on land costs, project size, and local market conditions.
Do I need construction experience to become a residential developer?
While construction knowledge helps, many successful developers come from finance, real estate, or other backgrounds. The key is building a strong team of experienced professionals and learning from them.
What permits are required for residential development?
Essential permits include building permits, environmental clearances, utility connections, and often subdivision approvals. Requirements vary by location, so check with local authorities early in your planning process.
How do developers choose locations for new housing projects?
Successful locations typically have good schools, job growth, transportation access, and reasonable land costs. Market research and demographic analysis help identify areas with strong housing demand and limited supply.