


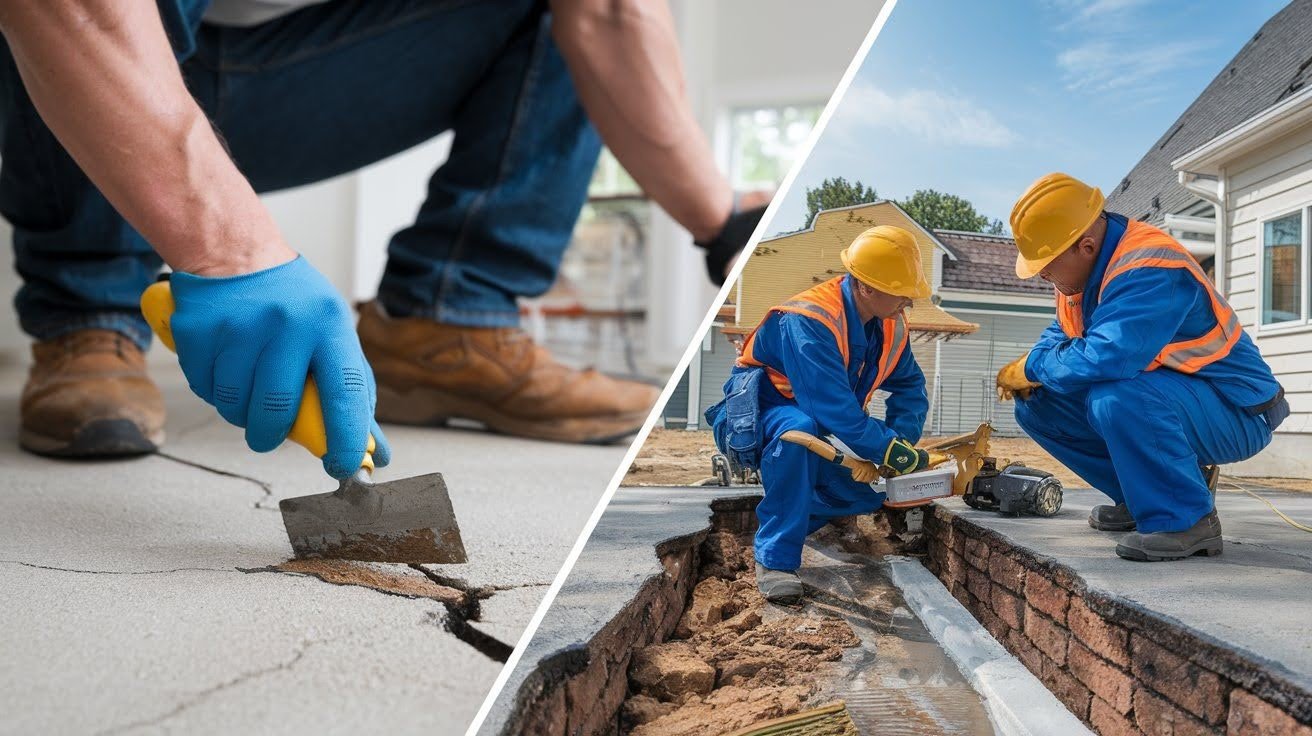
Foundation cracks keeping you awake at night? You’re not alone.
Thousands of homeowners face foundation issues every year. The big question is whether you can fix them yourself or need to call a professional.
Here’s what you’ll learn in this guide. I’ll show you exactly which foundation problems you can tackle yourself. You’ll find the tools you need, step-by-step repair methods, and prevention tips that actually work. Most importantly, I’ll tell you when to stop.
I’ve helped homeowners make these decisions for years. Your safety comes first. Some repairs are perfect for DIY. Others can put your family at risk if done wrong. This article gives you the honest truth about DIY foundation repair.
No hype, no sales pitch. Just practical advice you can trust to protect your home and your wallet.
Can You Fix Foundation Problems Yourself?
Not all foundation problems need a contractor.
You can tackle these issues on your own:
- Small surface cracks (less than 1/4 inch wide)
- Minor moisture problems
- Slight floor unevenness in small areas
- Basic waterproofing around the foundation
But here’s the reality check.
Major structural damage needs professional attention. This includes:
- Large cracks (wider than 1/4 inch)
- Foundation settling or sinking
- Bowing or leaning walls
- Severe water damage
The key is knowing the difference. Make the wrong call, and you could put your family’s safety at risk.
Identifying Common Foundation Problems
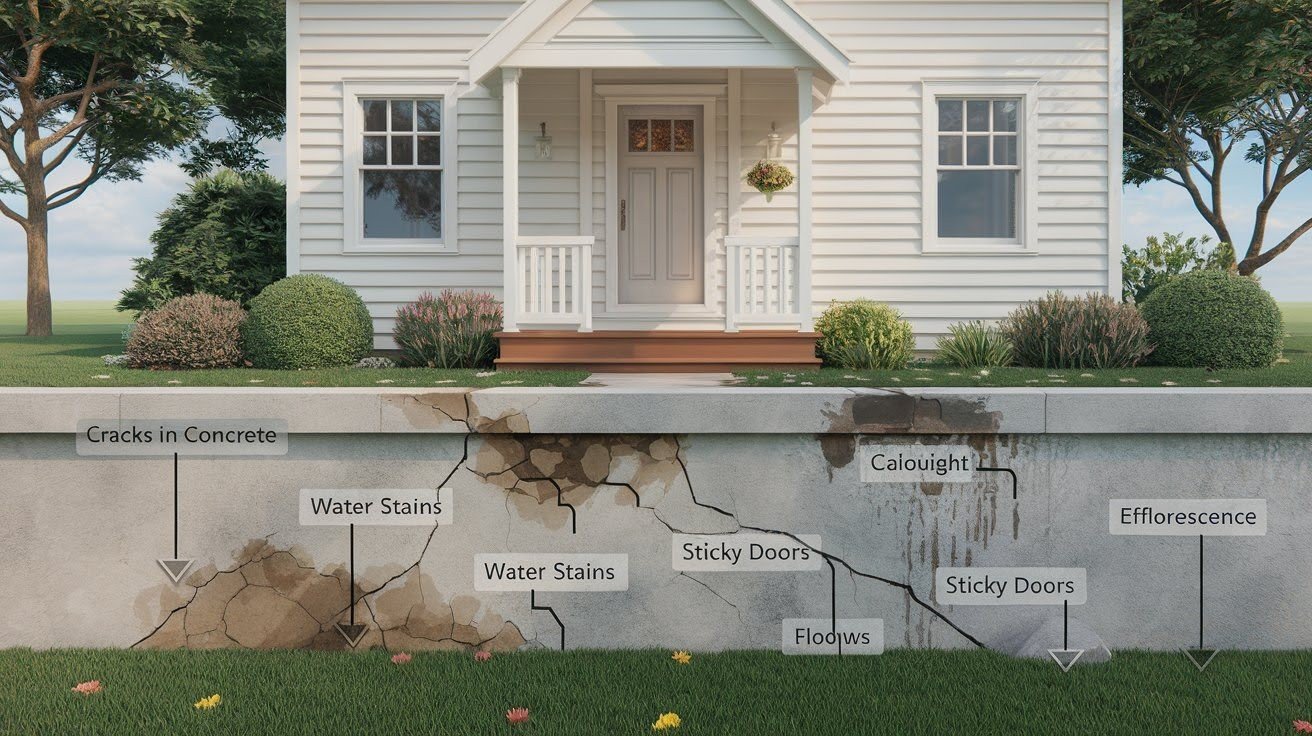
Before you grab your tools, you need to spot the warning signs.
Hairline cracks are usually cosmetic. They happen when concrete settles or shrinks. Wide cracks signal bigger problems. If you can fit a quarter into the crack, call a professional. Horizontal cracks are more serious than vertical ones. They often mean the soil is pushing against your foundation walls.
Look for these red flags:
- White chalky residue on walls (efflorescence)
- Damp or musty smells in the basement
- Water stains on foundation walls
- Puddles after rain
Walk around your house. Do you notice:
- Floors that feel bouncy or soft
- Doors that stick or won’t close properly
- Gaps between the floor and walls
- Sloping floors
These signs point to foundation movement.
Tools & Materials You’ll Need
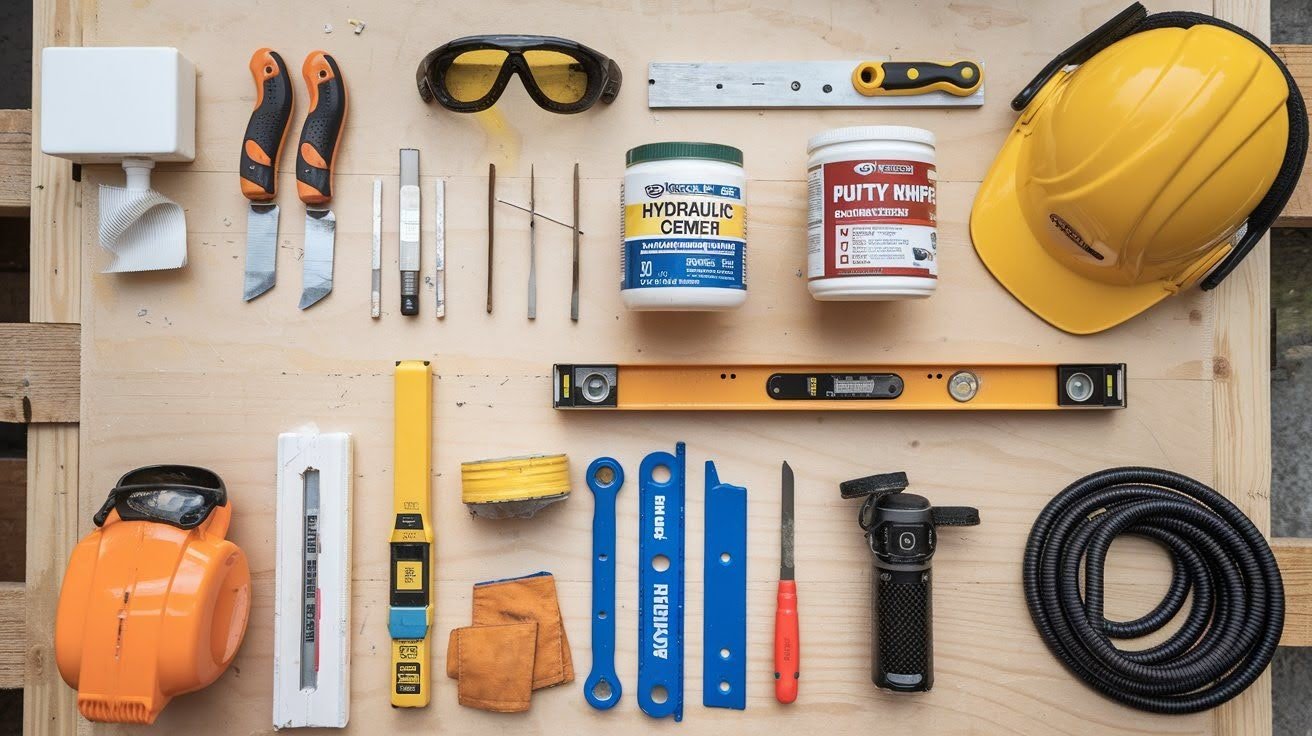
For crack repair, you’ll need concrete crack filler or hydraulic cement, a putty knife or trowel, wire brush, garden hose, and safety glasses with gloves.
For moisture control, gather waterproof sealant, a brush or roller, dehumidifier, and plastic sheeting.
For minor floor leveling, get a self-leveling compound, a mixing bucket, trowel, and a 2-4 foot level.
Don’t buy everything at once. Start with the basics for your specific problem.
Step-by-Step Guide: How to Fix Foundation Problems Yourself
a. Fixing Hairline or Surface Cracks
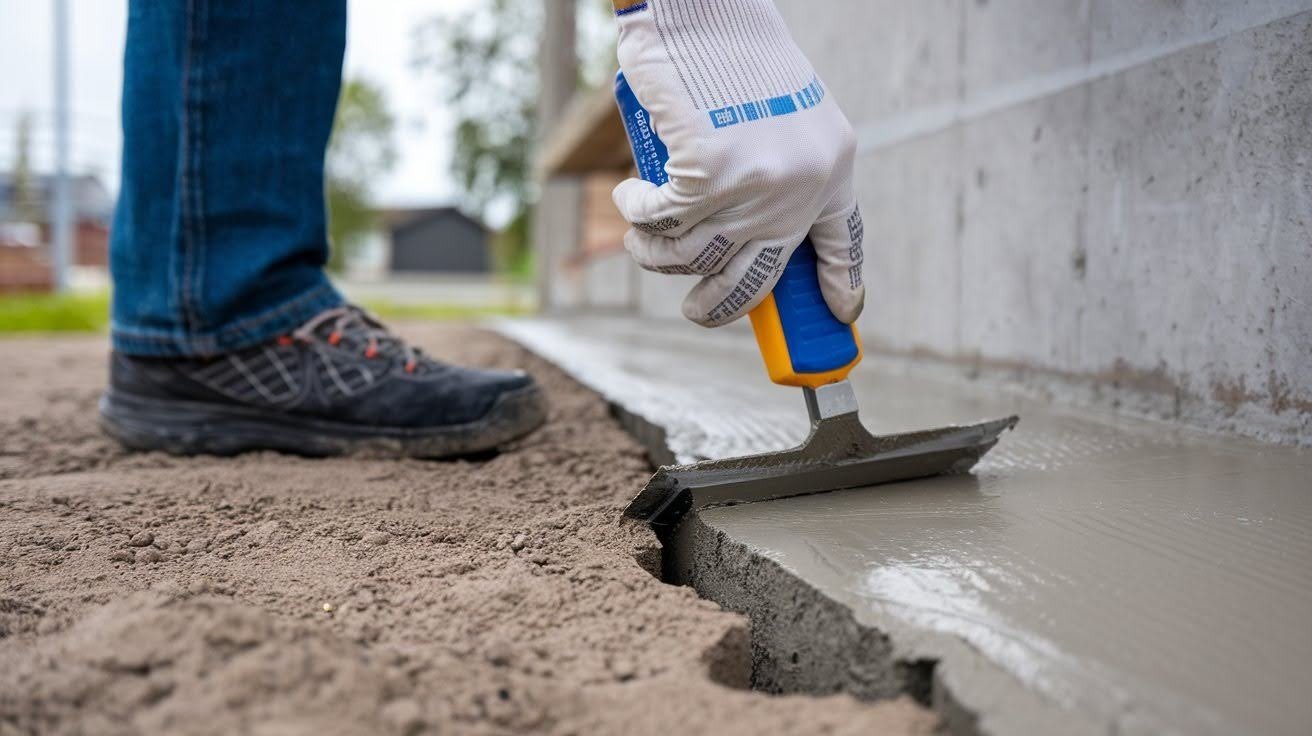
Small cracks are your easiest DIY win.
Step 1: Clean the crack thoroughly. Use a wire brush to remove loose concrete and debris.
Step 2: Rinse with water and let it dry completely. This usually takes 24 hours.
Step 3: Apply concrete crack filler according to package directions. Most products come ready to use.
Step 4: Smooth the surface with a putty knife. You want it level with the surrounding concrete.
Step 5: Let it cure for the recommended time. Don’t rush this step.
Pro tip: Work in temperatures between 40-80°F for best results.
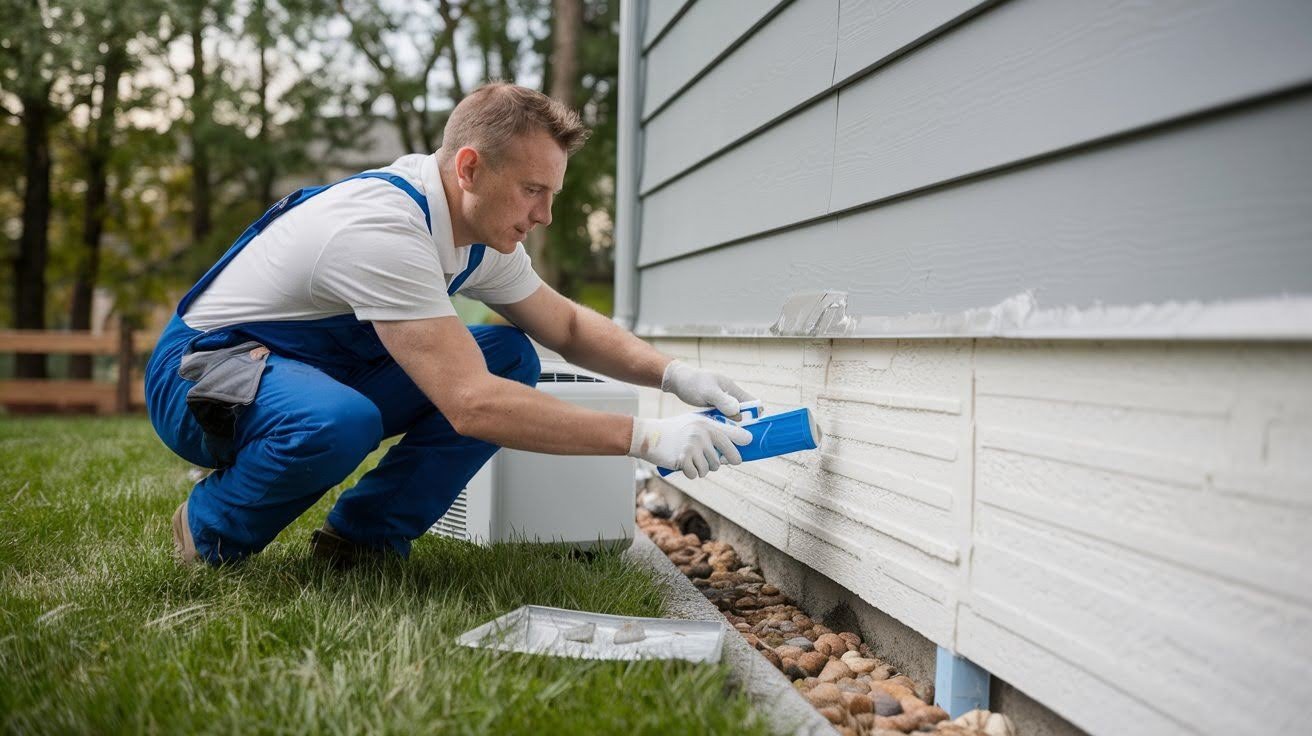
b. Sealing Moisture Issues
Moisture is your foundation’s biggest enemy.
Start with the exterior:
Step 1: Clear vegetation and debris from around your foundation. You need at least 6 inches of clearance.
Step 2: Check your gutters and downspouts. Water should flow away from your house, not toward it.
Step 3: Apply waterproof sealant to the exterior foundation walls. Use a brush or roller for even coverage.
Move to the interior:
Step 1: Install a dehumidifier in damp areas. Keep humidity below 50%.
Step 2: Seal any visible cracks using the method above.
Step 3: Consider applying basement waterproofing paint to interior walls.
Remember this: Exterior waterproofing works better than interior fixes. But interior solutions are easier for most homeowners.
c. Leveling Uneven Floors (Minor Cases)
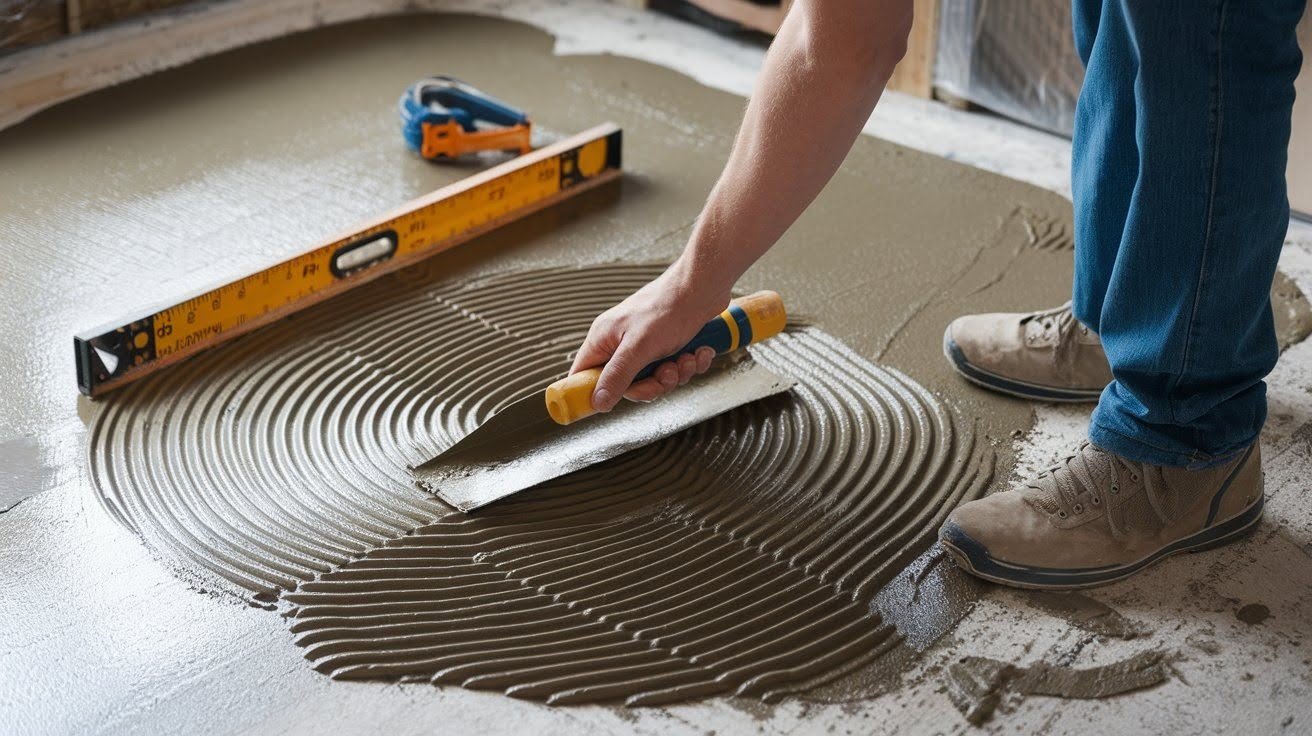
Only attempt this for small areas with minor unevenness.
Step 1: Identify the low spots using a long level. Mark them with chalk.
Step 2: Clean the area thoroughly. Remove any loose material.
Step 3: Mix self-leveling compound according to instructions. Work in small batches.
Step 4: Pour the compound over the low areas. It will spread and level itself.
Step 5: Use a trowel to guide the compound if needed. Work quickly most compounds set fast.
Step 6: Let it cure completely before walking on it. This usually takes 24-48 hours.
Important: This method only works for areas less than 2 inches out of level.
Prevent Future Foundation Damage

Prevention beats repair every time.
Manage Water Flow
Keep water moving away from your house by cleaning gutters twice a year, extending downspouts at least 6 feet from the foundation, grading your yard so water flows away from the house, and fixing plumbing leaks immediately.
Control Soil Moisture
Consistent soil moisture prevents foundation movement. Water your foundation during dry spells and don’t let soil get bone dry. Avoid overwatering after drought periods and plant trees at least 20 feet from your foundation.
Regular Inspections
Check your foundation twice a year. Look for new cracks or changes in existing ones, test for soft spots in basement walls, monitor for water damage signs, and take photos to track changes over time.
The best time to inspect? Spring and fall when weather changes stress your foundation most.
When to Call a Professional (Even if You Tried DIY)
Some problems are beyond DIY repair. Don’t risk your safety or your home’s value.
Call a professional immediately if you see:
- Cracks wider than 1/4 inch
- Cracks that grow quickly
- Stair-step cracks in brick or block walls
- Doors and windows that won’t open or close
- Floors that slope more than 1 inch over 20 feet
Also call if your DIY repair fails. If cracks reopen or water problems return, you need expert help.
Red flag situations:
- Foundation walls that lean or bow
- Large sections of concrete that crumble
- Severe water intrusion
- Multiple foundation problems at once
The bottom line? Foundation problems can affect your home’s structural integrity. When in doubt, get a professional opinion. A structural engineer can assess the damage and recommend the best repair approach. This usually costs $300-600 for an inspection.
That’s much less than the cost of ignoring a serious problem.
Conclusion
Fixing foundation problems yourself is possible for small issues. You can handle hairline cracks, minor moisture problems, and slight floor unevenness. These repairs will save you money and give you confidence as a homeowner.
But remember the golden rule. Know when to stop. Large cracks, structural damage, and major water issues need professional attention. Your safety comes first. Start with prevention. Keep water away from your foundation. Inspect your home twice a year. Catch problems early when they’re still manageable.
If you’re unsure about any repair, get a professional opinion. A small inspection fee now can prevent thousands in damage later. Your home is your biggest investment. Treat your foundation with the respect it deserves.
Frequently Asked Questions
How much does DIY foundation repair cost compared to professional work?
DIY repairs for small cracks typically cost $20-100 in materials. Professional foundation repairs can range from $500-15,000 depending on the severity of the problem.
How long do DIY foundation crack repairs last?
Properly done DIY crack repairs on hairline cracks can last 5-10 years. However, if the underlying cause isn’t addressed, cracks may reappear sooner than expected.
Can I use regular concrete to fill foundation cracks?
Regular concrete isn’t flexible enough for foundation repairs and will likely crack again. Use specialized concrete crack filler or hydraulic cement designed for foundation work instead.
What’s the best time of year to do foundation repairs?
Spring and fall offer ideal conditions with moderate temperatures and lower humidity. Avoid winter repairs when materials may not cure properly in freezing temperatures.
How do I know if a foundation crack is still growing?
Mark the ends of the crack with a pencil and date. Check monthly to see if the crack has extended beyond your marks. Growing cracks need professional evaluation immediately.